Dekho
Embedding Dekho map window and achieving myData to Dekho link
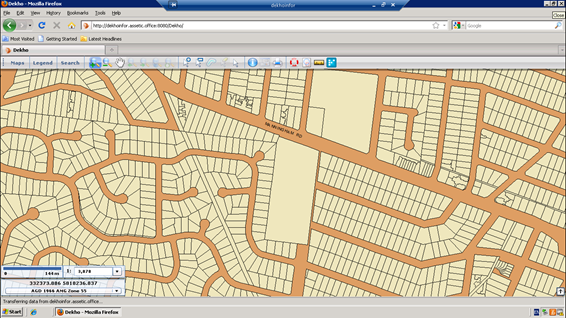
Create a map in Dekho
When wanting to embed a Dekho window in myData, the first step is to create the map you want to display in Dekho.
This map should include all layers that contain spatial objects you wish to link to assets in myData.
Create integration queries
To create the link between assets in myData and spatial objects in the map, you will need to create Integration Queries for each layer you want to link.
Log in to the Dekho Administration and click on Queries to access the Queries dialogue.
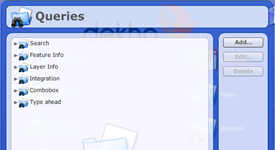
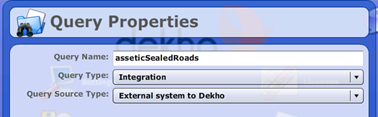
Click the Add... button to create a new Integration Query. This will activate the Query Properties dialogue. Here, you will need to enter the following information:
- Query Name – enter a descriptive, unique name for your query, e.g. asseticSealedRoads
- Query Type – select ‘Integration’ from the drop-down list
- Query Source Type – select ‘External system to Dekho’ from the drop-down list
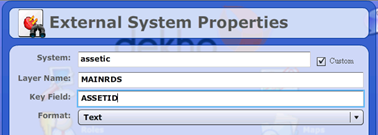
Click the Next button once complete. This will take you to the External System Properties dialogue. Please ensure that you check the Custom box before proceeding to enter the following information:
- System – enter ‘assetic’
- Layer Name – enter the name of the GIS layer you want to link (e.g. MAINRDS)
- Key Field – enter the name of the field in GIS that will be used to link to myData’s Asset ID field (e.g. ASSETID)
- Format – select ‘Text’ from the drop-down list
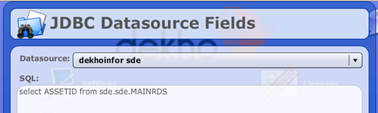
Click the Next button once complete. You will be directed to the JDBC Datasource Fields dialogue.
Here you must enter a SQL query that selects the appropriate ID number from your GIS layer (e.g. select ASSETID from sde.sde.MAINRDS). You may test your query by clicking on the Test SQL button:
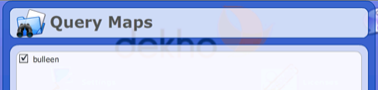
Once you have constructed a valid SQL query in this section, proceed to Next. This brings you to the Query Maps page. Select the map you created in the first step by placing a check in the appropriate box:
Click Next and ensure that the correct layer is selected in the Map Layer dialogue:
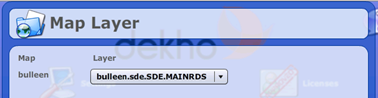
Proceed to Next.
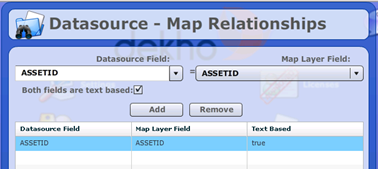
You will be taken to the Datasource – Map Relationships window.
By default, the Datasource Field should be populated with the Key ID you entered in one of the earlier steps.
Under the Map Layer Field, please ensure that you select the correct ID field from your map layer (i.e. the field containing the ID numbers that will link the map objects to assets in myData).
If your Map Layer Field is text-based, please place a check in the Both fields are text-based checkbox.
Click Add to add this relationship to the list:
Click Next and select the Dekho Roles you want this query to apply to:
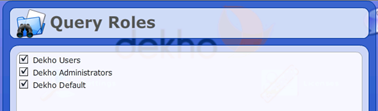
Click Save to finish. An Integration Query has now been created for the Map Layer.
Please ensure that these steps are carried out for each of the layers you want to link in myData.
Apply Configurations in myData
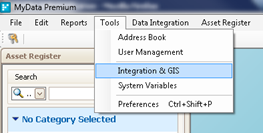
In myData, go to Tools > Integration & GIS. This will activate the Integration & GIS Configuration dialogue.
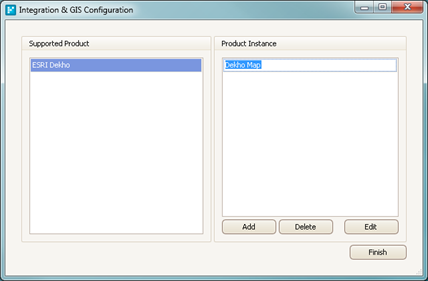
You will see that ESRI Dekho is listed under the Supported Products section (if Dekho does not appear in the Supported Products list and you believe your organization has been licensed for this feature, please contact Assetic for a new license file).
To activate the product, you need to add a new object to the Product Instance section by hitting the Add button and adding a name to your Product Instance (e.g. Dekho Map):
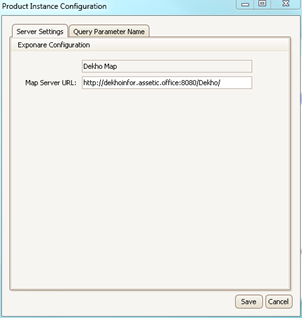
Once you have given your Product Instance a name, highlight the name and click on the Edit button to access the Product Instance Configuration dialogue.
Under the Server Settings tab, enter the URL for your Dekho Server (e.g. http://dekhoinfor.assetic.office:8080/Dekho/).
If you have users set up for Dekho access, create a Dekho user for myData and enter the username and password to the beginning of the URL (e.g. http://DekhoUsername:DekhoPassword@dekhoinfor.assetic.office:8080/Dekho/):
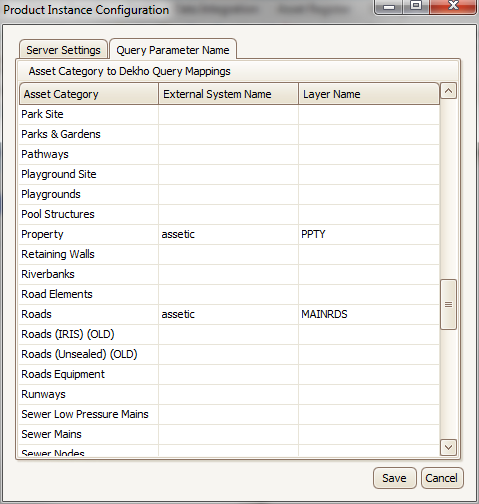
Next, activate the Query Parameter Name tab and locate the Asset Categories you wish to link to Dekho.
For each category, enter ‘assetic’ under External System Name (this must match the system name entered when creating the selection query in Dekho), and your Dekho layer name (e.g. MAINRDS) under Layer Name(please note that this must be the source layer name).
Click Save once complete:
You should now be able to view the Dekho map via the GIS tab in myData and automatically zoom to assets selected in the Asset Register.
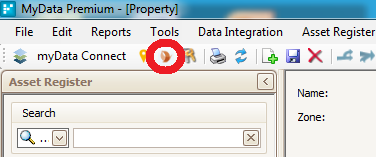
You can also launch out to the selected asset in Dekho by hitting the Dekho launch button in the myData toolbar: